
Πρωτόκολλα υγιεινής
Disinfection & sterilisation of podology tools: a complete guide
28 July 2026 · 8 min read
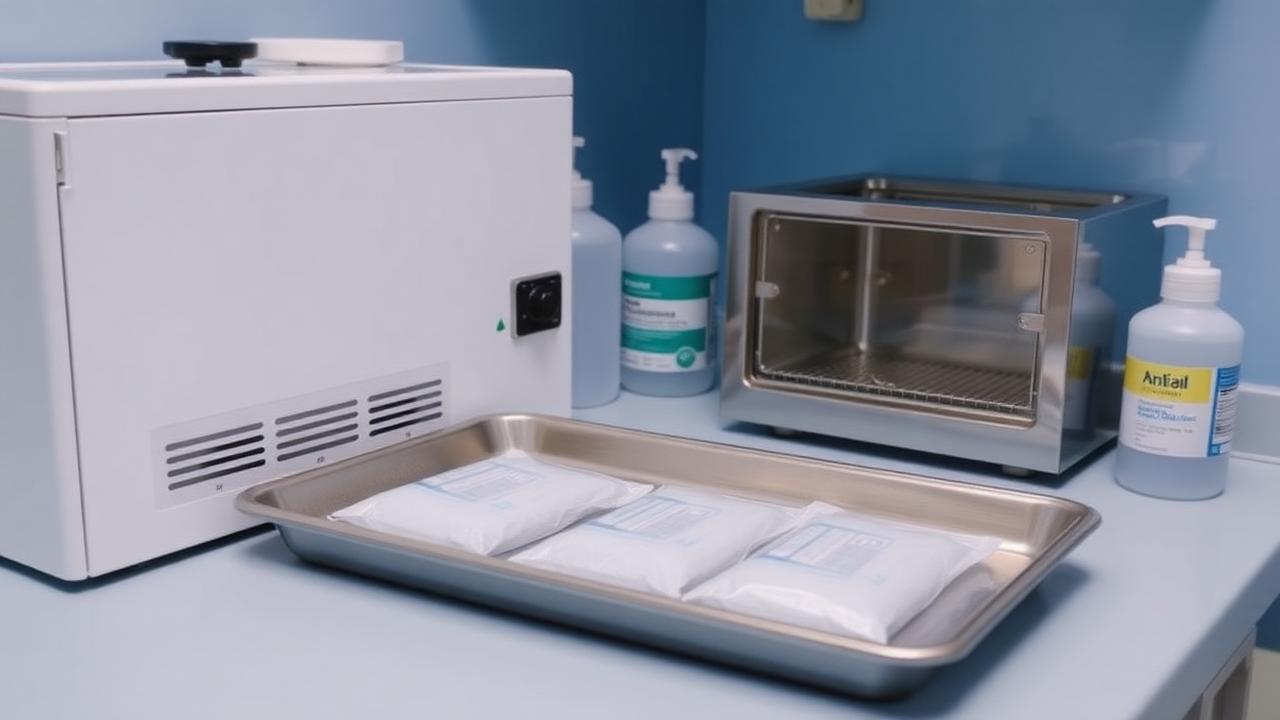
A complete, practical guide to the disinfection and sterilisation cycle in the podiatry practice: from pre-soaking and ultrasonic cleaning to pouching, autoclaving and documentation.
Sterilisation is not a single step; it is a closed loop that begins the moment an instrument leaves the client''s foot and ends when that same instrument returns to the tray sealed, dry and documented. Skip one link and the rest is void.
1. Pre-soak immediately after use
Bioburden (blood, keratin, nail dust) dries within minutes and becomes a protective film for micro-organisms. Place instruments immediately into a soaking tray, fully opened so the solution reaches the hinges.
- Use a metal-safe, non-corrosive solution such as Prosept Fortis 1 L at the dilution and contact time printed on the label.
- Keep a separate container for bits with Prosept Burs so cutting edges never knock against heavy instruments.
- Replace the solution daily, or sooner if it turns cloudy.
Browse every solution and consumable in the Disinfection / Sterilization category.
2. Mechanical and ultrasonic cleaning
Cleaning follows soaking. The goal is complete removal of residue - an instrument that is not clean cannot be sterilised.
- Brush hinges and beaks below the water surface, never under a running tap (avoid aerosols).
- Load instruments open into the ultrasonic basket without overlapping them.
- Rinse with deionised water and dry completely. Trapped moisture inside a pouch is the number one cause of a failed cycle.
Always wear durable gloves at this stage - Soft Care FINE nitrile gloves keep tactile feel without tearing on sharp edges.
3. Inspection, lubrication and pouching
Before pouching, inspect every instrument under good light: edge sharpness, jaw alignment, no corrosion. A worn nipper traumatises tissue and no autoclave cycle fixes that.
Pouch in the correct size - the instrument should occupy roughly three quarters of the pouch length:
- Kraft sterilisation pouches 75x100 mm for bits and small instruments.
- Kraft sterilisation pouches 100x200 mm for nippers, forceps and sets.
Write the cycle and expiry date on the pouch before sealing, never on the paper face with a marker that can bleed through.
4. The autoclave cycle
For most podiatry instruments the reference cycle is 134 °C for 4 minutes in a class B steam autoclave with a full drying phase. Do not overload the chamber: steam must circulate freely around every pouch.
Minimum quality control:
- Every cycle: chemical indicator on the pouch, plus a check of the printout or parameter display.
- Daily: vacuum / steam-penetration test as specified by the manufacturer.
- Weekly: biological spore indicator, with the result recorded.
5. Storage and documentation
Store sealed pouches in a closed, dry cabinet away from the sink and direct sunlight. Discard and reprocess any pouch that is torn, soiled, damp or expired.
Keep a cycle log with date, load number, contents, indicator result and signature. In an inspection, that log is the only proof the cycle was run correctly.
6. If it cannot be sterilised, it is single use
Foam-backed files, sanding caps, abrasive tapes and non-metal consumables cannot be safely sterilised. Use disposable systems such as the Staleks PODODISC EXPERT set with disposable files and discard after every client.
Daily checklist
- Morning: autoclave test, fresh solutions, pouch stock topped up.
- Between clients: soak, surface disinfection, fresh sealed instrument set.
- Evening: final cycle, logbook entry, drain and dry the ultrasonic, clean filters.
Related products
- Categories: Disinfection / Sterilization and Consumables - Prosept Fortis 1 L instrument disinfectant - Prosept Burs bit disinfectant 1 L - Kraft sterilisation pouches 100x200 mm